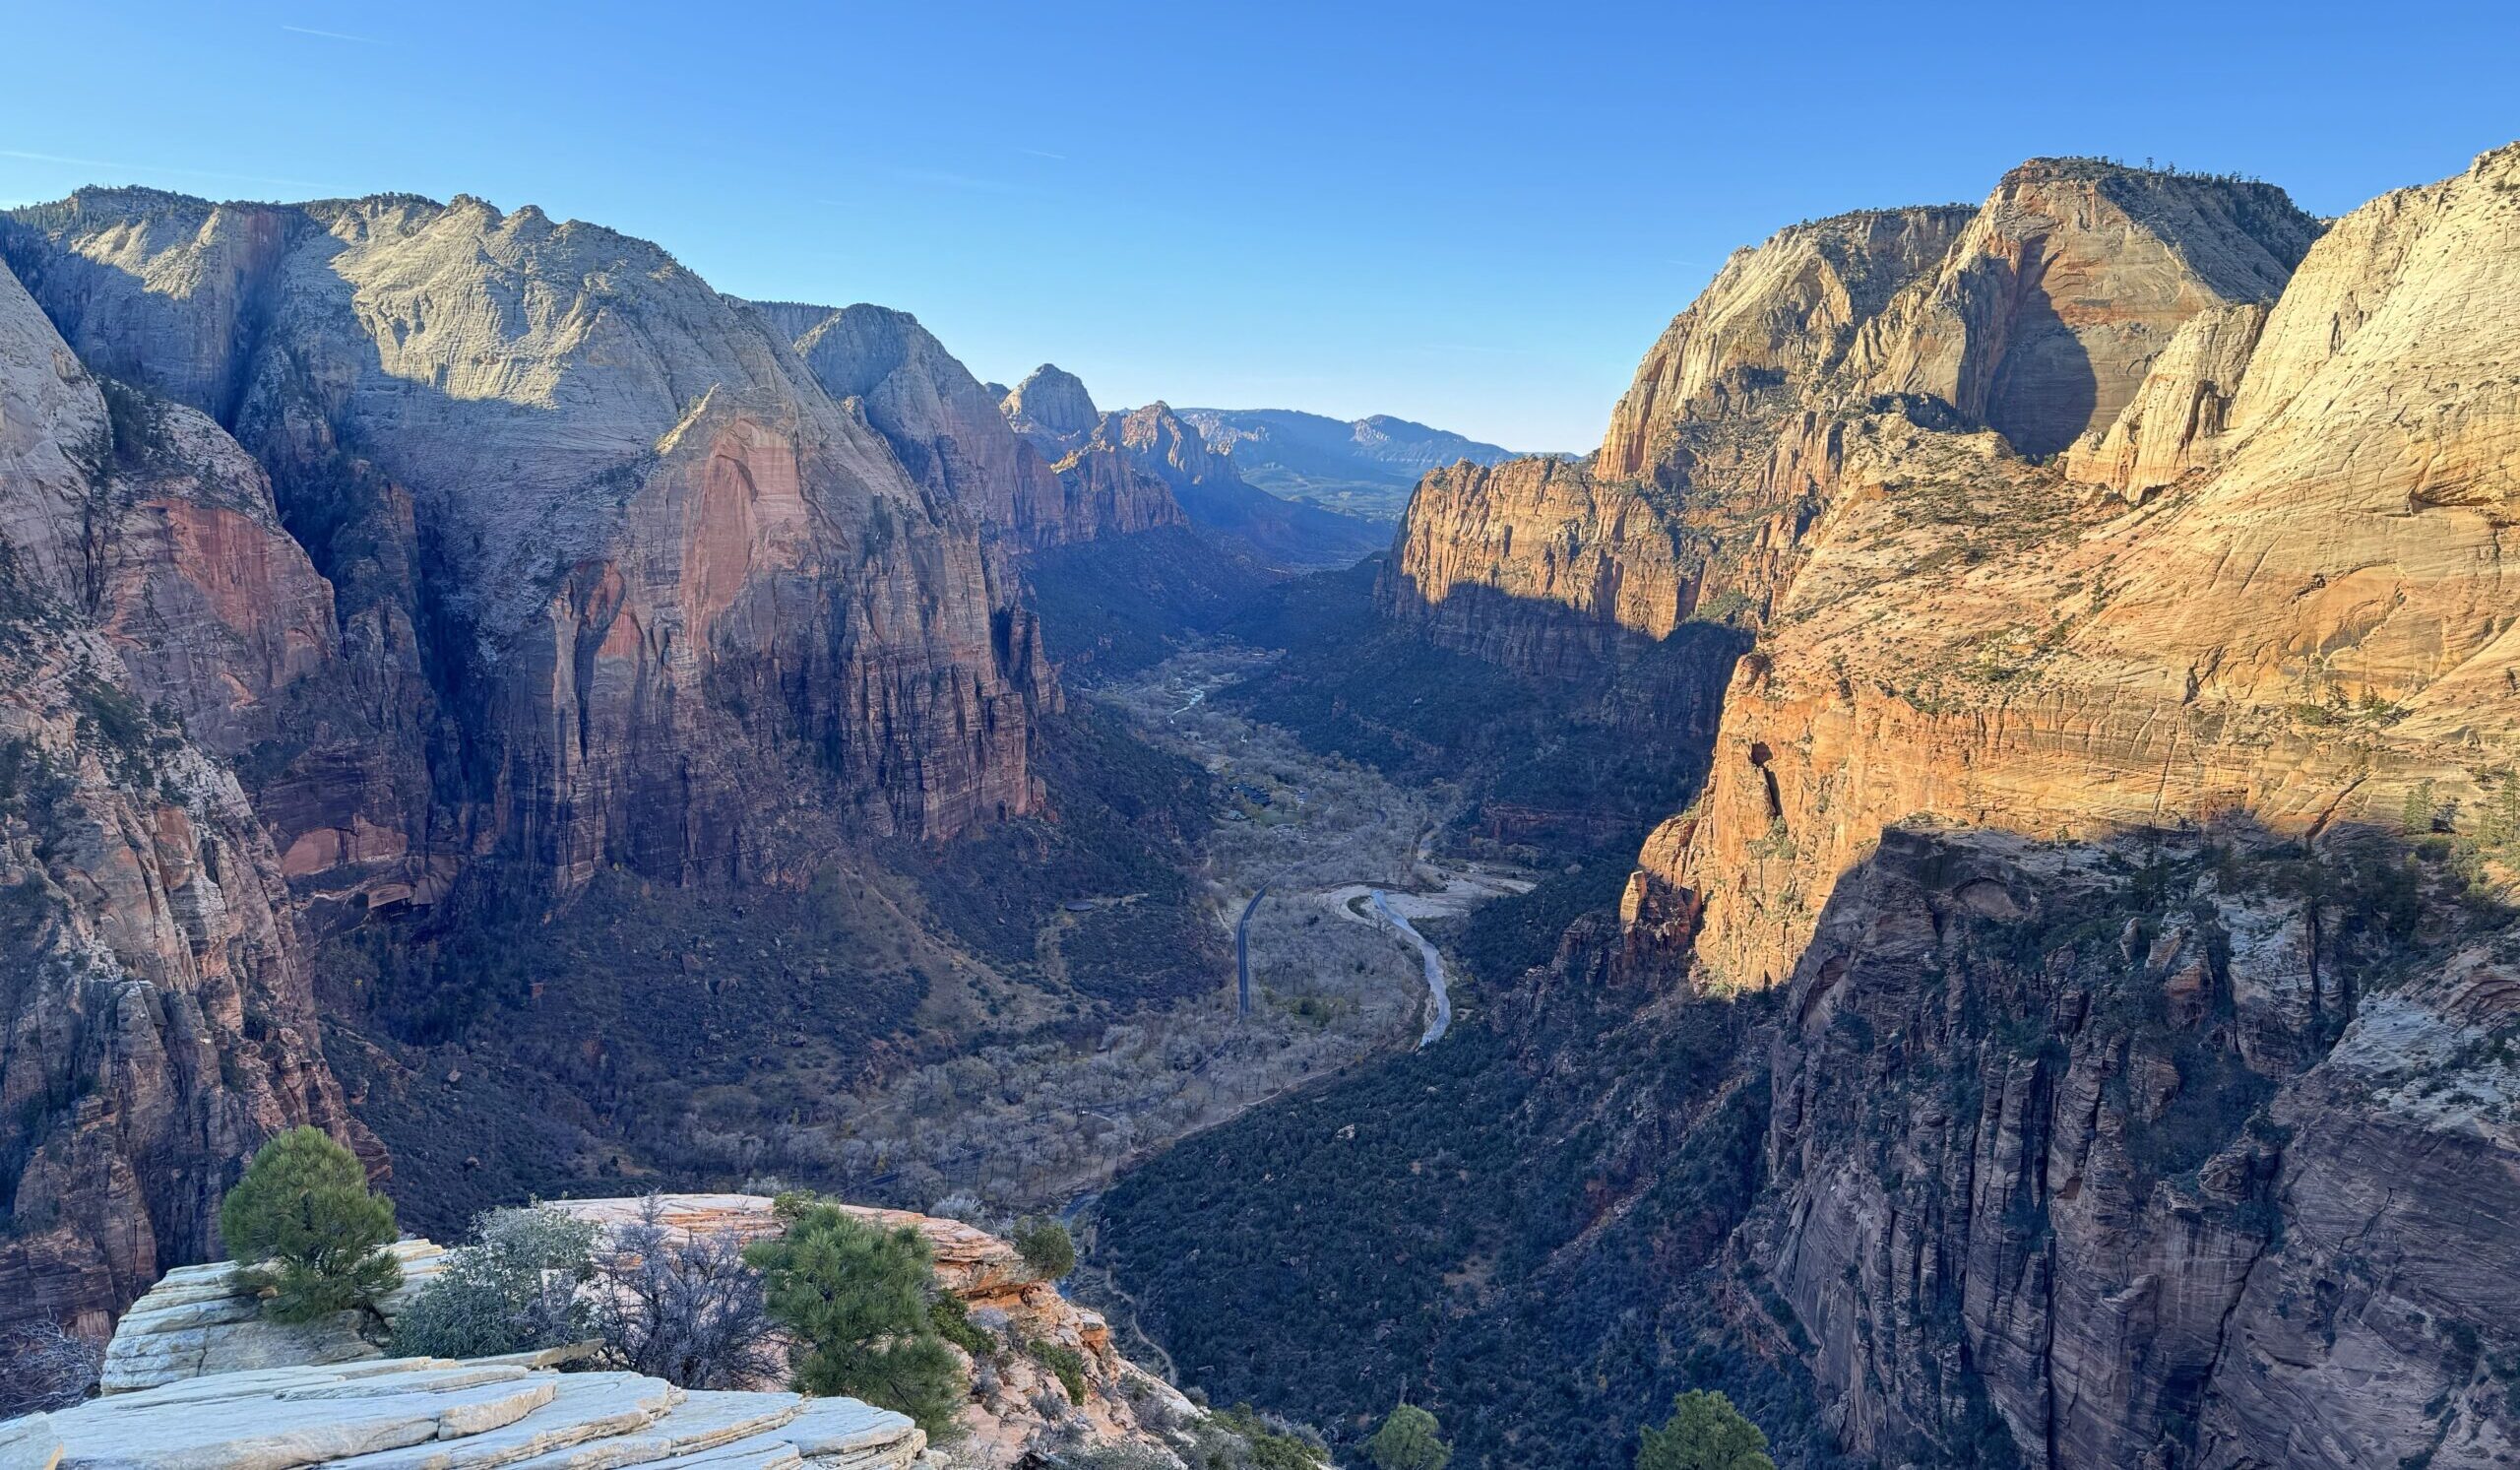
So, you want to plan a trip to Zion National Park, but you’re unsure what to pack? Well, you’ve come to the right place. From my 4 days and 4 nights camping trip, I’ve compiled a list of all the key essentials for any trip to Zion National Park. Below, I’ll provide details on the essentials you’ll need to add to your packing list for Zion National Park.
Let’s get started!
Packing List for Zion National Park
Preparation is an important facet of a good adventure. In this post, I’ll cover the essentials for planning your trip and what you should add to your packing list for Zion National Park. If you want to jump straight to my full packing list, please check out:
Know Before You Go: Zion National Park
Located in the southeastern corner of Utah, Zion National Park is the most visited of the state’s 5 National Parks. Zion National Park is usually in the top 10 of the most visited parks in the country year after year. The Virgin River carves the iconic Narrows Hike, and Kolob Canyons offers hidden beauty—Zion National Park showcases stunning landscapes at every turn. After your visit, you’ll understand why the park is so popular.
Zion National Park is open year-round, but I feel fall is the best time of year to visit the park. The summer months can be very hot and are the most popular time due to families taking more summer vacations. In spring, the snow runoff may bring the water levels in the rivers and creeks, making some hikes more dangerous or not hikeable. In the fall, the crowds mellow a bit, but the weather is still warm during the day, especially in early fall, allowing you to hike the Narrows without waders or a dry suit.
Nearest Airports to Zion National Park
Harry Reid International Airport in Las Vegas, NV: The best all-around solution for those flying to Zion National Park. From the airport to the park entrance is about a 2-hour and 45-minute drive. Due to the popularity of Las Vegas, there are many affordable flight options and plenty of car rental options.
Salt Lake City International Airport in Salt Lake City, UT: With a lot of the same perks as Harry Reid in Las Vegas, since it’s a major commercial airport. The downside is it’s about a 4-hour drive to Zion National Park.
St. George Regional Airport in St. George, UT: Can’t beat the proximity to Zion National Park, as it’s about an hour’s drive from the airport to the park entrance. However, the airport has limited commercial flights, so it can make flight timing tricky. I’ve also found these regional flights cost a little more. There are car rental options here, but they just won’t be as robust as the above options.
Cedar City Regional Airport in St. George, UT: About an hour’s drive from the airport to the park entrance. While this airport is serviced by Delta, all flights connect in and out of Salt Lake City.
Getting Into Zion National Park
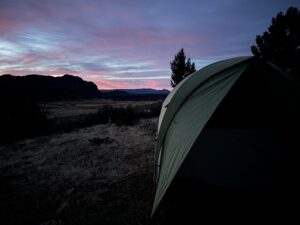
Getting into Zion National Park is straightforward, as you can drive in from one of 3 entrances.
South Entrance
Most visitors use the South Entrance since the majority of visitors fly into Las Vegas and come into the Park on Route 9. From the South Entrance, you can also walk or bike into the Park from the town of Springdale.
East Entrance
Also positioned on Route 9, this entrance has the second-highest visitor volume. Visitors who come from Bryce Canyon National Park (about 2 hours away), generally use this entrance.
Kolob Canyons Entrance
A smaller, lesser-traveled part of the park. This area is in the northwest corner of the park and has some great hiking if you’re looking to miss some of the crowds. This entrance is accessible off Interstate 15.
Entrance Pass into Zion National Park
At all entrances, you will need to pay a park $35 entrance fee. That fee buys you a 7-day entrance pass to come and go from the park as you please. If you are planning on hitting more than two national parks in the year, you can also buy an America the Beautiful Pass.
This $80 pass gets you into all the country’s National Parks and is valid for 1 calendar year from the date of purchase. Meaning, if you buy it in November 2023, it will be valid until November 2024. This pass can be purchased at the park entrance or save time by buying it in advance from REI. Just show it and drive (or walk) into Zion or any of the other National Parks in Utah or the United States.
Permits for Zion National Park
All in all, most hikes in Zion National Park do not require a permit for you to hike. Angels Landing and The Subway are two of the more popular hikes that require permits. Backcountry camping and a few other hikes also require permits. “You don’t need a permit to hike the Narrows, but you do need to plan ahead to ensure you’re adequately prepared.
Angels Landing Permits
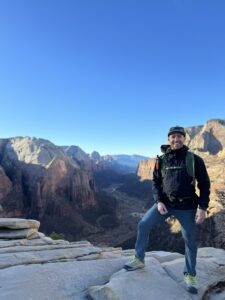
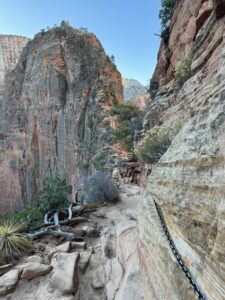
While most of the Angels Landing hike doesn’t require a permit, the first 1.6 miles from The Grotto trailhead to Scout Lookout, but the last 0.4 miles to the iconic Angels Landing does. This permit process started in 2022 to limit foot traffic and make the hike safer. The final 0.4 miles is along a narrow ridge, where there are chains to help hikers to the top, hence the need to control the number of visitors traversing it.
There are two ways to secure a permit, both require you to enter a lottery. If awarded a permit, the National Parks Service will email you your permit. Either screenshot or print your permit to bring with you.
- Seasonal Lottery
- In this lottery, you can apply up to 3 Months in advance for your Angels Landing Permit. There are 4 seasonal lotteries you can enter depending on your trip timing. When applying, you can pick 7 days and times you want to hike Angels Landing for up to 6 people.
- Each time you apply for the lottery, you will be charged a non-refundable $6 fee for processing. This $6 fee is flat regardless of how many days or people you enter on the permit application.
- If you win a permit, the system charges an additional $3 per person on the same day. You’ll get an email confirmation with your permit once the fee is processed. Cancel at least two days before your hike to receive a refund.
- These dates and fees are subject to change, so please visit this National Parks information page for the Angels Landing Permit Lottery for the latest details.
- Day-before Lottery
- If you fail to obtain a pass in the seasonal lottery, you can try the day-before lottery. Between 12:01 A.M. and 3 P.M. MST, the day before you hike, you can enter this lottery to try to obtain a permit. Like the seasonal lottery, you will be charged a $6 non-refundable processing fee each time you enter. For this lottery, the $3 fee charged if a permit is awarded is non-refundable.
I obtained my Angel’s Landing Permit in the day-before lottery. I had applied twice, once for a Tuesday for the time slot ‘Between 9 A.M. and 12 P.M.’, which I didn’t get. Then again on a Wednesday for the time slot ‘Before 9 A.M.’. In total, I was charged $15 in fees for my Angels Landing Permit.
These dates, times, and fees are subject to change, so please visit this National Parks information page for the Angels Landing Permit Lottery for the latest details.
The Subway (also known as Left Fork of North Creek) Permits
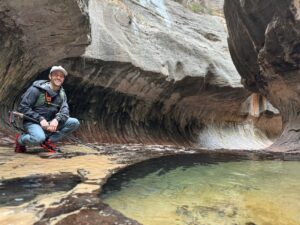
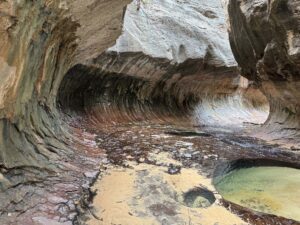
The Subway hike is another popular hike in which a visitor needs to obtain a permit. This hike has two possible routes, the hiking route and the canyoneering route.
The hiking route (bottom-up approach) is a strenuous hike, a 9-mile out-and-back strenuous hike up the canyon to the infamous Subway (more on the hike later in the post). Hikers should have a good map and some route-finding experience before attempting.
The canyoneering route (top-down) is a strenuous hike, a 9.5-mile through-hike technical hike requiring rappelling and canyoneering experience. The canyoneering route should only be attempted if you and your party have rappelling skills and extensive route-finding experience.
A maximum of 80 permits per day are issued for both routes combined. Therefore, both routes use the permitting mechanisms, of which there are 4 options.
- The Advanced Lottery – An online lottery held for visitors hiking in April through October. Applications must be submitted 2 months in advance for the month you are going to be visiting Zion National Park. You can prioritize up to 3 days with the application. Results will be emailed by the 5th of the following month, whether you are awarded your permits or not.
- For example, if you were planning on visiting Zion from September 15th to 18th, in July, you can submit your lottery application. On August 5th, you will be notified if you have your permits.
- Calendar Reservations – After the 5th, when the advance lottery results are in, there can still be permits available for the Subway hike. You can use this reservation system to book permits up to 1 month in advance of your hike. This is also the method used for November through March when the Advance Lottery isn’t running. This is how I obtained my permit for November.
- Last-Minute Drawing – If you are unsuccessful with the previous 2 options, you can try this last-minute drawing. You may enter 7 days in advance of the trip date until 12 P.M. MST, 2 days before the trip date. The drawing will then be at 1 P.M. MST, 2 days before the trip date.
- Walk-In – If none of the options above work out for you, you can try to obtain a walk-in permit the day before the trip date. This will only be available if there are cancellations or not all the slots are filled up from the above options. To do so, please visit the Zion Canyon Visitor Center Wilderness Desk or Kolob Canyons Visitor Center.
For each of the first 3 options, charge a $5 non-refundable processing fee for each submitted application. If you are awarded a permit, you will be notified in your email, but you must pick up your permit in person at Zion Canyon Visitor Center Wilderness Desk or Kolob Canyons Visitor Center, the day of or after 3 P.M., the day before your hike. When picking up your permit, you will be charged at least $15 (price ranges from $15 to $25 based on group size).
These dates, times, and fees are subject to change, so please visit this National Parks information page for the Subway Wilderness Permit for the latest details.
General Day Hiking: Zion National Park Packing List
Your packing list for Zion National Park day hiking should also accommodate Zion’s desert climate. Pack accordingly for the early morning temperatures and the changes in daytime temperatures as the day progresses.
What to Pack:
- Backpack – I use a 25-liter pack that is compatible with a hydration bladder. This size allows me to comfortably fit the following items without having to overstuff. It also doesn’t feel too bulky if you pack a bit lighter for those shorter hikes.
- Hydration Bladder – It’s important to make sure you always have enough water. When on the trails at Zion, do not have drinkable water (the water from the Virgin River is not drinkable). You must carry your water. You should fill up before entering the park or at a water station before starting your hike. I carry a 3-liter hydration bladder, which allows me to adjust the amount of water I bring based on the weather and the length of the hike. Personal preference, I tend to carry 3 liters for anything over 2 hours just to be safe. If you need help determining the amount of water to bring, you can ask a ranger.
- You can also carry a water bottle or multiple if you prefer that to the hydration bladder. I just find the hydration bladder to be more convenient for drinking water while on the trail.
- Rain Jacket – Rain may come unannounced in Zion, so it’s good to be prepared. A lot of the new rain jackets can pack down small to fit easily in your pack. It also doubles as a wind shell if the wind picks up and you need a little extra protection.
- Hiking Pants – I tend to always wear long pants in all seasons. In the warmer months, pants provide sun protection and protection from abrasions from rocks or sticks along the trail. In cooler temperatures, they provide the same protection as the warmer months, and they also provide warmth. It can be quite hot in the summer months, so you can opt for shorts if those suit you better.
- Hiking Shirt – No matter the season, I generally wear long–sleeved shirts for sun protection (check to make sure your shirt has SPF ratings). Depending on the time of year, I may choose a different material of shirt to accommodate the seasons. In the summer months or warmer periods of spring and fall, I prefer a light synthetic material or bamboo fabric. In cooler temperatures, I usually opt for a merino wool shirt to provide a little more warmth.
- Hiking Socks – I hike in wool socks for most of my outings. They come in different thicknesses, so you can choose a thickness that best fits you or the weather. A good sock and boot combination can help reduce the risk of blisters.
- Wool socks are also great at moisture-wicking, dry fast, and tend not to hold an odor like cotton socks.
- Hiking Boots or Shoes – A well-fitting pair of hiking boots or shoes is a must for hiking in Zion National Park. If you are buying new boots or shoes for Zion, I recommend getting some miles in before your trip. This will help you know if they fit well and don’t cause any blisters.
- Trekking Poles – These can be very useful to help maintain balance or take some of the load off your legs and knees. I prefer collapsible trekking poles over hiking sticks. They latch onto my backpack to get them out of the way if I don’t need them.
- Mid-Layer – Even in warmer months, you may run into unexpected colder weather in Zion National Park. Packing an extra layer, like a merino wool mid-layer, can help protect you against any sudden changes.
- Snacks – I always carry snacks/food on my day hikes to make sure I stay fueled. Particularly longer hikes, as they require more energy. Find snacks you enjoy but also pack easily and won’t spoil or melt on the trail.
In months with cooler temperatures, you may also want to consider packing these extra layers and items:
- Base Layers –To stay warm throughout the day in the cooler temperatures, I will wear merino wool base layers. They come in different thicknesses, so you can adjust based on the weather forecast. Enough to stay warm but not overheat.
- Warm Jacket – I generally pack a puff jacket in winter months, as they pack small but provide great warmth. I tend to wear it at the start of a hike, and as I warm up, I remove it. Or if I stop for lunch or any extended period, to make sure I don’t get a chill.
- Microspikes – Winter months may bring snow and ice, so to have some extra traction on the trail, I pack microspikes. They can be placed over your hiking shoe or boot, allowing them to pack small and limit their overall weight.
The Narrows Packing List
The Narrows hike is the most popular in Zion National Park. If you are planning to hike the Narrows, you’ll need a few specialized items on top of the items for day hiking. If you’re like me and don’t own these items, you can rent them for your hike. To make sure you can get them, I’d reserve them in advance.
I chose to reserve gear from Zion Outfitters, which is located just outside the park. They will also provide recommendations on gear to rent based on the time of year and water levels, and conditions of the Virgin River.
What to Pack:
- Water Shoes – In the warmer months, you can get away with sandals that strap to your feet or other lightweight water shoes. However, given the terrain and time of year, I rented boots from Zion Outfitters that had more ankle support.
- Neoprene Socks –These specialized socks help keep your feet warm in the cold river and stay tight against your feet. The tightness around the foot helps to prevent blisters by reducing friction in your boot and keeping more dirt and sand out.
- Dry Bib/Dry Pants – Since the river can be cold year-round, you may want to consider renting Dry Pants or a bib to stay dry for this hike. You can consult with Zion Outfitters to see which option they recommend based on the water levels of the Virgin River and the weather for that time of year.
- In summer months, you can get away with hiking in shorts, even though the river will still be cold. However, it’s good practice to at least check the temperature of the river beforehand to decide if you are comfortable hiking without a dry bib or dry pants.
- Walking Sticks – You may want to rent a more heavy-duty walking sticks as well. This could provide more support on the hike than traditional trekking poles.
- Dry Bag – Also available for rent from Zion Outfitters, these bags can keep all your belongings (phone, camera, keys, etc.) dry during your hike. This can be useful if you happen to fall, but there are also areas where the river may be chest-deep. You can ask the outfitter or national parks ranger for more information on the water levels of the Virgin River during your visit. This can help determine if you need a dry bag or not.
The Subway Hike Packing List
The following is for the out-and-back hiking option for The Subway hike and not the canyoneering option. The Subway hike does not have a well-defined trail once you get down to the left fork of North Creek. Once at the creek, you will find creek crossings, which can be ankle to knee deep depending on the time of the year. In that last stretch of the hike, you will be walking up the creek into the Subway, where depths can vary depending on the time of year.
Like the Narrows hike, I recommend checking out Zion Outfitters. They can provide some details on what specialized gear you might want to rent.
What to Pack:
- Water Shoes – In the warmer months, you can get away with sandals that strap to your feet or other lightweight water shoes. However, given the terrain and time of year, I rented boots from Zion Outfitters that had more ankle support.
- Neoprene Socks –These specialized socks help keep your feet warm in the cold river and stay tight against your feet. The tightness around the foot helps to prevent blisters by reducing friction in your boot and keeping more dirt and sand out.
- Dry Bib/Dry Pants – Since the river can be cold year-round, you may want to consider renting Dry Pants or a bib to stay dry for this hike. You can consult with Zion Outfitters to see which option they recommend based on the water levels of the Virgin River and the weather for that time of year.
- In summer months, you can get away with hiking in shorts, even though the river will still be cold. However, it’s good practice to at least check the temperature of the river beforehand to decide if you are comfortable hiking without a dry bib or dry pants.
Packing List for Zion Car Camping
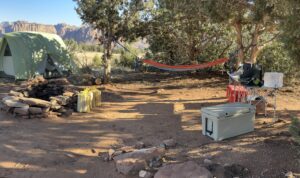
Zion National Park has a desert climate, so it’s not uncommon to experience varying temperatures and weather conditions. This is true no matter the time of year. For a camping trip, be prepared for the nighttime and daytime temperatures for the time of year you are in Zion National Park.
What to Pack:
- Tent – For car camping, I like to use a 4-person tent that allows me to stand up in. I’m only 5’7”, so it may be easier for me to find a tent I can stand vertically in. I find that a tent this size not only makes things like changing and getting my bed set up easier, but it also provides a more comfortable space for days that you are stuck at camp due to weather. For shorter trips, I may leave the tent at home and sleep in the back of my Subaru.
- Sleeping Bag (and Pillow) – My trip to Zion National Park was in November, so knowing this, I packed my sleeping bag rated for 20 degrees Fahrenheit, knowing it might get pretty cold at night. Most sleeping bag temperature ratings include using a well-insulated sleeping pad. Therefore, if I didn’t have an appropriately rated sleeping pad, that 20 degrees wouldn’t be accurate.
- Sleeping Pad – I have a sleeping pad that is air with filled but with a foam insulation layer, so it has an R-Value of 8.1. For those unfamiliar, the R-value measures a material’s resistance to heat flow, with a higher number indicating better insulating properties.
- Camp Kitchen – What you pack here can vary by your interest or intent on cooking while car camping. I plan a few meals where I cook as if I were at home. My camp kitchen pack list is rather extensive. I include things like: multiple sizes of pots and pans, knives, cutting boards, coffee maker, utensils, plates, cups, etc. However, you can keep this pretty simple by bringing premade meals or items that don’t need to be cooked.
- First Aid Kit – Accidents happen, so it’s always a great idea to have a first aid kit with you when camping or doing any outdoor adventure. Most first aid kits come with all the essentials, but you can customize them to your needs.</p>
These are some of the essential items I pack. Check out the link to the full packing list for Zion National Park if you’d like more details.
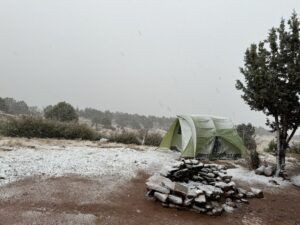
If you’re looking for tips on booking a campsite, check out my blog Book A Campsite: The Ultimate Website Guide. I used Hipcamp to secure my site for this trip, but there are many options in the area.
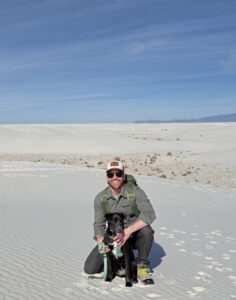
Hi, I’m Dave — a laid-back adventure enthusiast based in Southern California with a deep love for the outdoors and all the unexpected joys it brings. Through Plan | Pack | Discover, I share my passion for hiking, camping, surfing, and backpacking — and help you get ready for your own adventures, too.
More about me and Plan | Pack | Discover